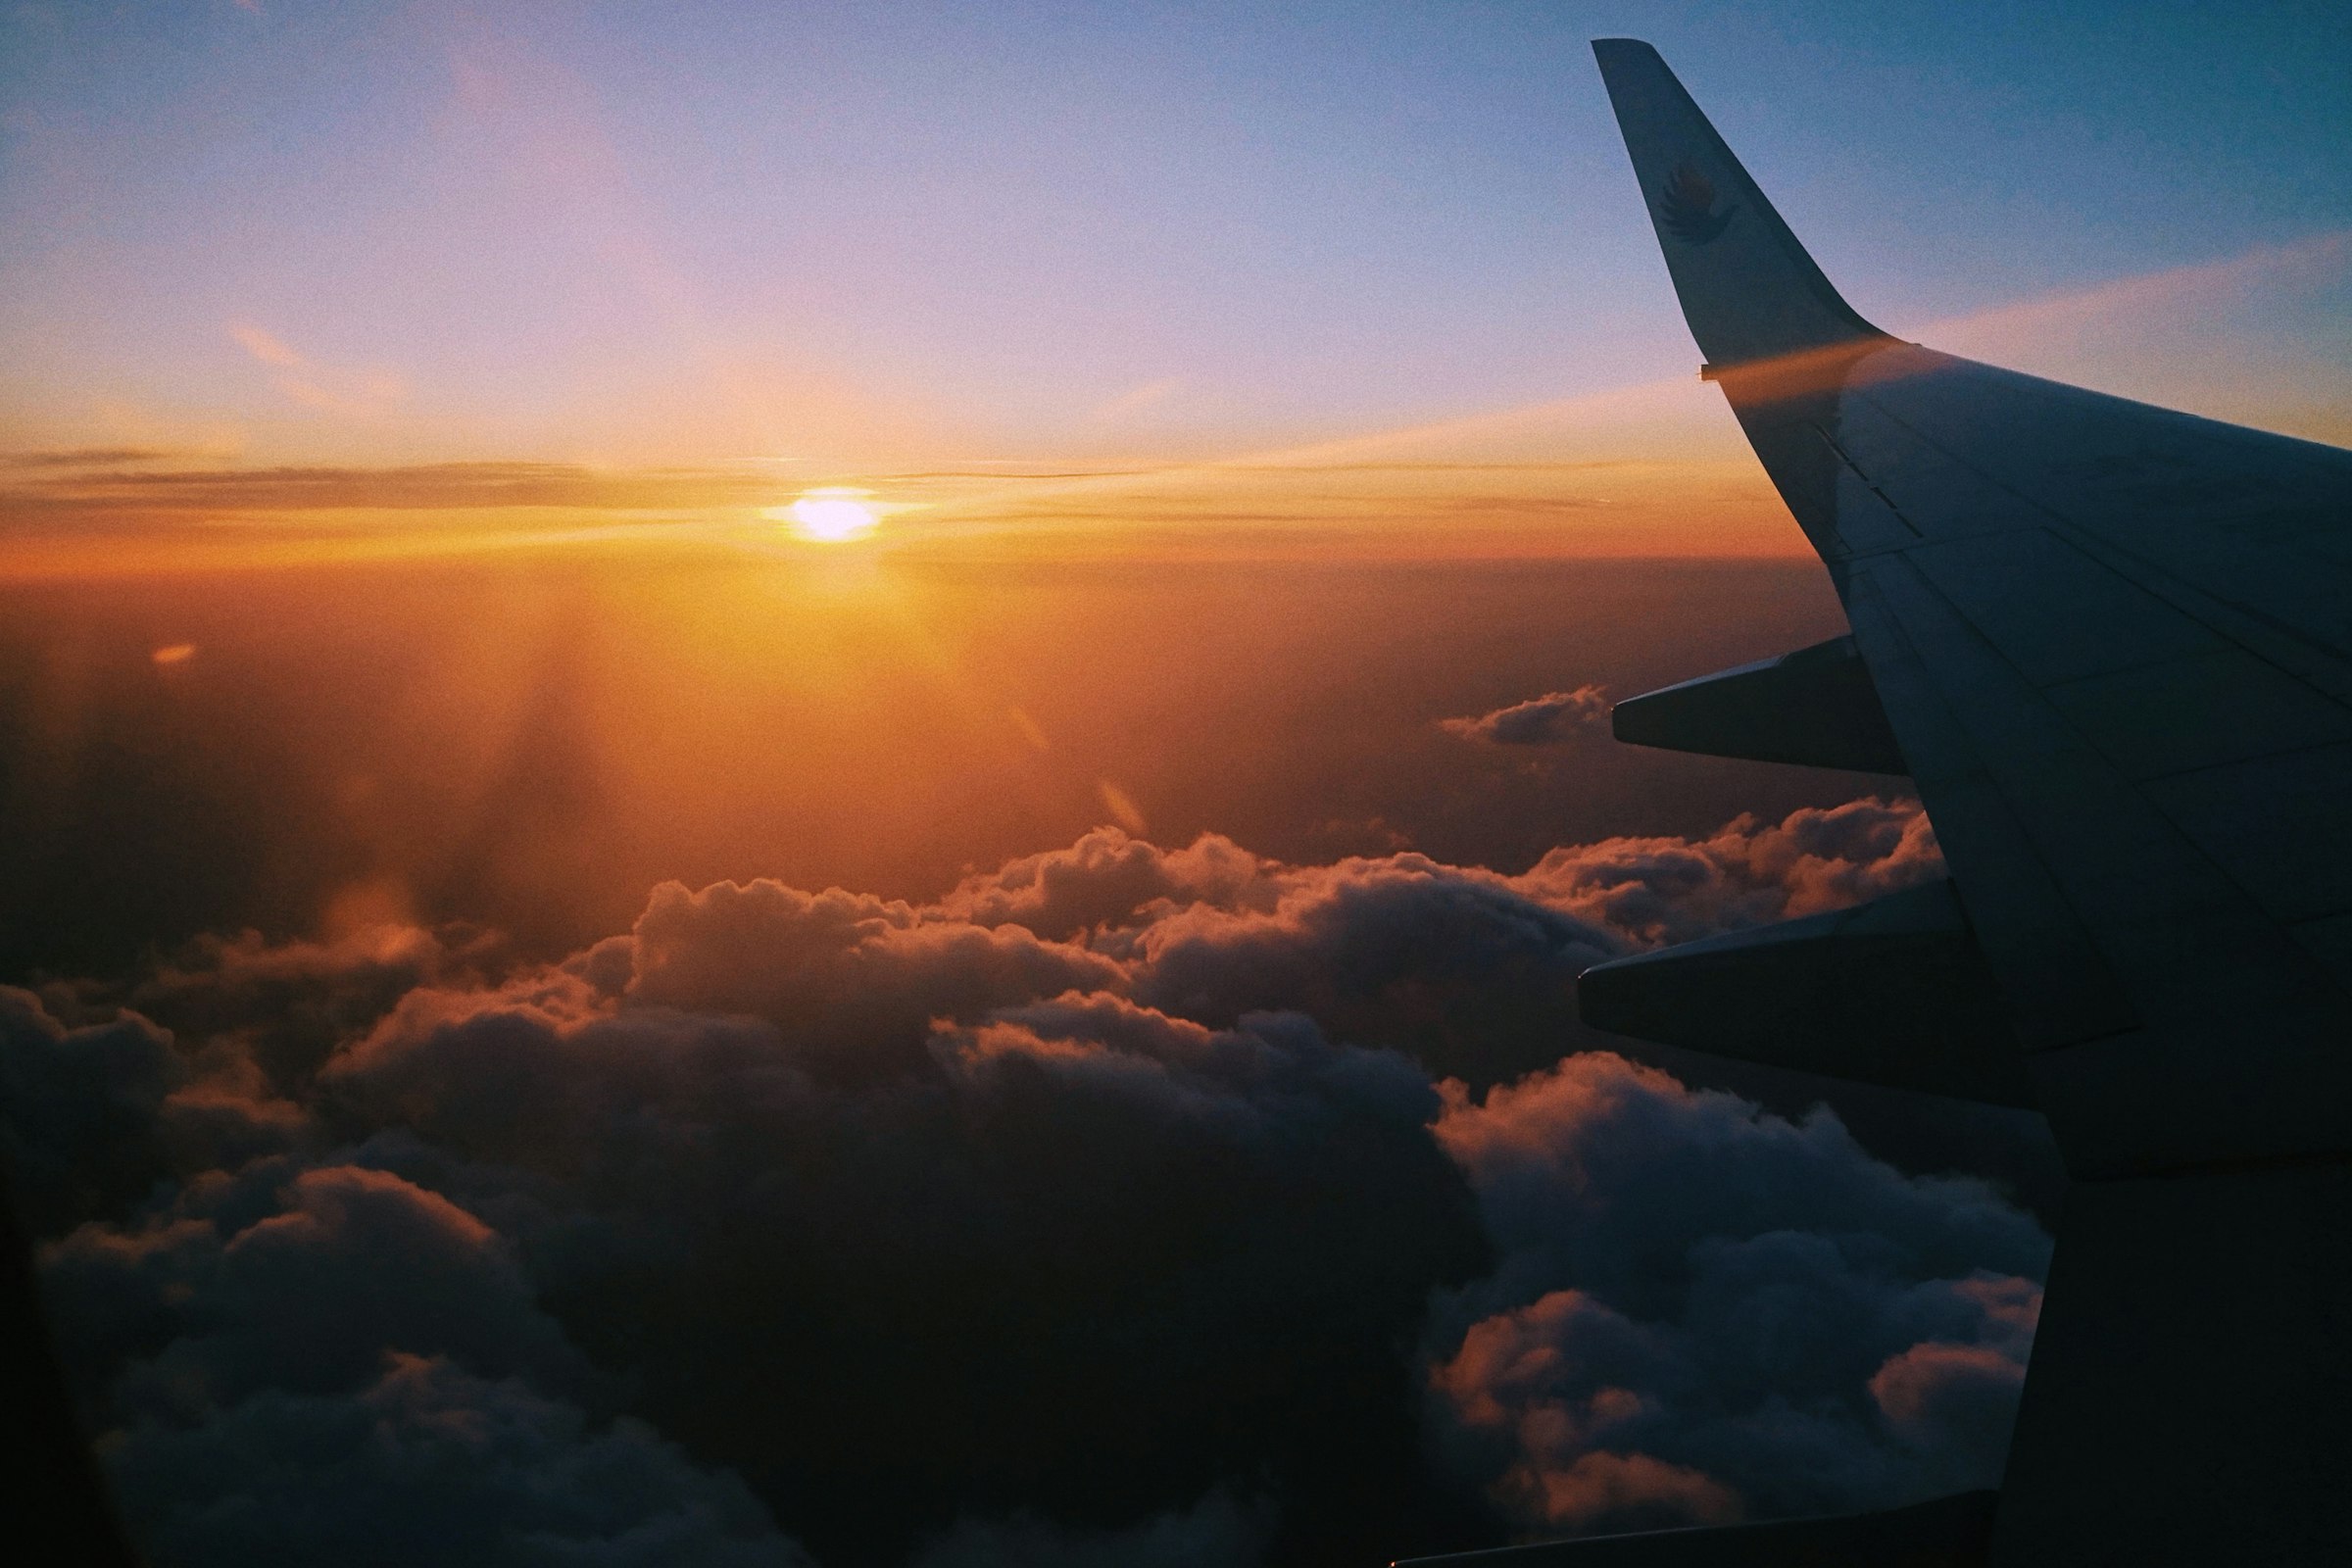
Every window seat comes with the same small heartbreak. The view out there is enormous, and the photo on your phone is a pale, smudged rectangle with your own face floating in it.
It does not have to go that way. Almost every bad window photo fails for one of four reasons, and every one of them is fixable from your seat, mostly for free. Here is how we do it.
✈ The Short Version
The seat
Ahead of the wing, or well behind it, on the side your view is on
The enemy
Reflections from the cabin, not the window itself
The fix
Lens flat against the window, everything dark behind you
Skip this
The polarizing filter. Airplane windows turn it into rainbows
Start with the seat, not the camera

The best photo you take on a flight is decided at booking. Over the wing you get a lot of wing. Directly behind it you get engine exhaust, which shimmers and smears everything in the lower half of the frame. The clean rows are ahead of the wing or a good way behind it, and a seat map plus a quick look at photos from your aircraft type will show you which is which. Then pick the side your view is actually on. We wrote a whole guide to that: Which Side of the Plane Should You Sit On?
Clean what you can reach

An airplane window is three layers. The outer pane takes the pressure, the middle one is the backup, and the thin inner one closest to you is a scratch pane that protects the other two from passengers. That inner pane is the only one you can clean, and it is usually covered in fingerprints from whoever had your seat last.
Wipe it with a microfiber cloth before takeoff. Not a napkin, which leaves lint, and not your sleeve. If the inner pane is badly scratched, find the clearest patch and shoot through that; a scratch right against the lens disappears far more than one an inch away.
You will also notice a tiny hole near the bottom of the middle pane. That is the breather hole, which keeps the pressure load on the outer pane, and it is also why frost crystals sometimes grow on the window at altitude. The frost can be beautiful. Shoot it on purpose!
Kill the reflections

This is the big one. The glare in your photos is not coming from outside. It is the reading light, the seatback screen, your white shirt and your face, all bouncing off the inner pane. The fix is to make sure no light from the cabin can get between your lens and the window.
The simplest version costs nothing: put the lens almost against the window and cup your hand around it. Better still, wear something dark, turn off your reading light and dim your screen. Photographers who are serious about it drape a dark jacket over their head and the camera, which looks ridiculous and works perfectly.
The tidy version is a rubber lens hood. It is a soft funnel that presses flat against the glass and seals out the cabin entirely. There are versions for phones and for real cameras, they fold flat, and they weigh almost nothing. They also take a little of the vibration out of the shot, since the soft rubber is doing the touching, not the lens. Do not press a bare lens or phone hard against the window; the airframe vibrates, and so will your picture.
Leave the polarizer at home
A polarizing filter is the normal answer to shooting through glass, and it is the wrong one here. Airplane windows are acrylic, and the acrylic is under stress from the pressure difference. Put a polarizer in front of it and that stress shows up as bands of rainbow color across the sky and clouds, sometimes invisible until you look at the photo later.
Some photographers do this deliberately for a psychedelic look, and it can be wonderful over water. Just know it is happening. If you want a true-color picture, take the polarizer off.
Focus, exposure and timing

Phones and cameras love to focus on the window itself, especially when it is dirty or frosted. Tap on something far away and lock focus there, or set a real camera to manual focus at infinity. Keep the shutter speed fast, around 1/500 or quicker if your camera lets you choose, because the plane is moving and so is the floor.
The best light is the same as it is on the ground: the first and last hour of the day, when the land below has long shadows and texture. Takeoff and landing are the other gift, because you are low enough for detail and the plane is banking, which tips the landscape toward one side of the cabin. If it is your side, be ready. Phones should be in airplane mode, and the crew will tell you when larger devices need to be stowed.

At night, the reflection problem doubles, because the cabin is the brightest thing for miles. Turn everything off, use the hood or the jacket, and brace the phone against the window frame for night mode. That is how people get the aurora from a seat.
Two small courtesies
Window photos are about the window. Keep the crew and other passengers out of your frame unless they have said yes, and if your neighbor is trying to sleep, ask before you raise the shade on a sunrise. Most people will say yes. It is a sunrise.
✈ The Window Seat Kit
For phones
ULHmobile Smartphone Lens Hood
A soft rubber funnel that fits nearly any phone and seals out cabin reflections. The single most useful thing on this list.
For cameras
ULHgo Ultimate Lens Hood
The same idea for a real camera. It fits lenses with 49 to 82mm filter threads and presses flat against the glass.
On a budget
Collapsible Rubber Lens Hood
A simpler rubber hood that threads onto a camera lens. Check your lens’s filter size before you order.
Before takeoff
MagicFiber Microfiber Cloths, 6 Pack
For the inner pane, your lens and your phone. Lint-free, and they live in a pocket.
This is part of The Window Seat Guide, our series on the seat itself. Start with Which Side of the Plane Should You Sit On?, and find more planning in Itineraries & Know-How.
Lead photo by Astra Liu on Unsplash. The Window Seat is a participant in the Amazon Services LLC Associates Program. Links in the kit above are affiliate links, and we may earn a small commission on qualifying purchases at no extra cost to you.

Leave a Reply